
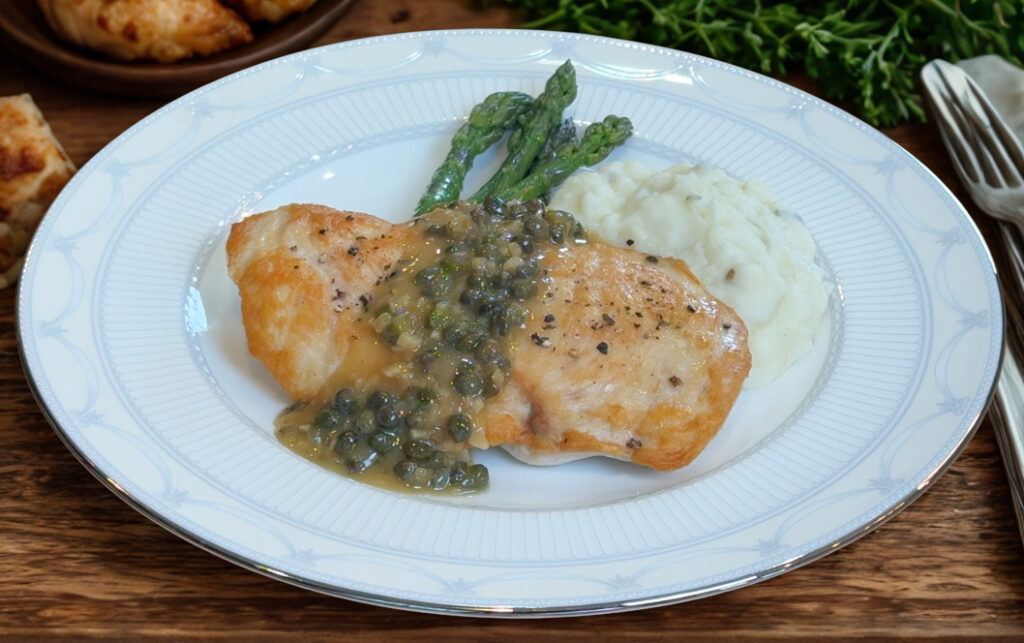
Your sauce smells incredible. It’s rich, it’s glossy, you’ve done everything right — and then you taste it, and something’s just off. Flat. Heavy. Or worse, it’s gone sharp and sour, and you’re not sure why.
Nine times out of ten, the problem isn’t your ingredients. It’s acid — how much, what kind, and when it goes into the pan. A lemon caper pan sauce lives or dies on this one idea, because it carries not one but three sources of acid at once. Get the timing right, and they layer into something bright and alive. Get it wrong, and those same three ingredients turn the whole thing sour. Today we fix that, and the fix is mostly about order.
WHY THIS WORKS
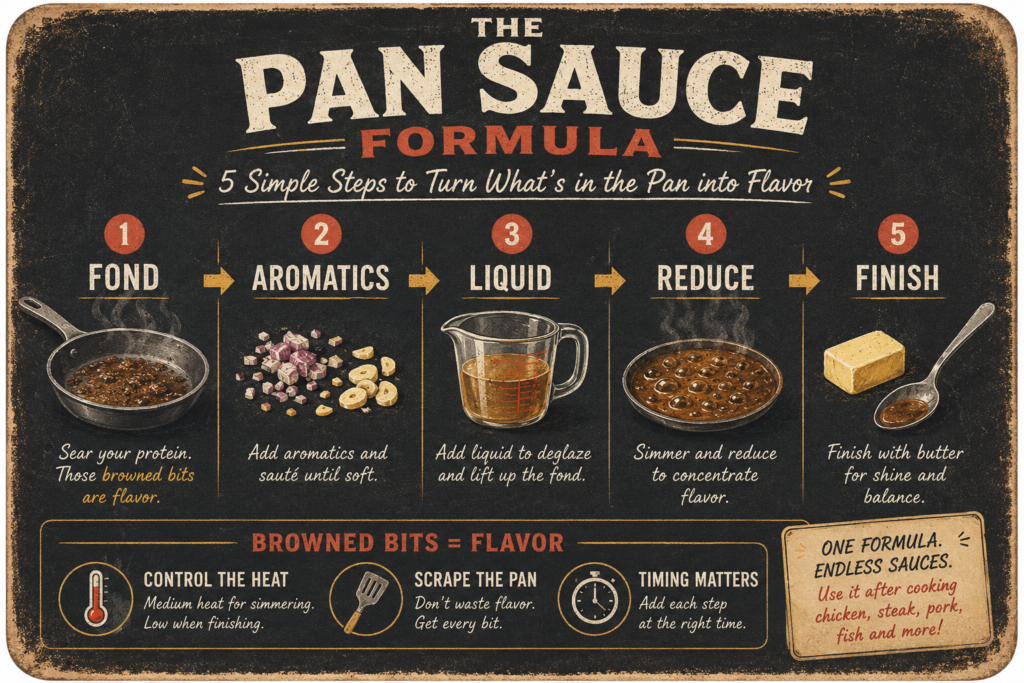
A lemon caper pan sauce is built on the same five-step pan sauce foundation as the rest of this series — fond, aromatics, liquid, reduction, finish — but this episode is really a lesson in balance. The thing that makes this sauce special is also the thing that makes it tricky: it stacks three different acids on top of each other. There’s the white wine you deglaze with, the capers you stir in, and the lemon you finish with. Each one brings brightness, but they don’t behave the same way, and if you treat them as interchangeable, you’ll end up with a sauce that tastes like a salad dressing.
Here’s the key: the three acids enter at three different times, on purpose. The wine goes in first and gets reduced hard — and as it reduces, its sharp raw edge cooks off entirely, leaving behind only concentrated sweetness and depth. By the time the sauce is done, you don’t taste “wine” at all; you taste the body it built. The capers go in next, but only after a quick rinse, because they’re packed in vinegar brine and that brine is harsh and one-note. Rinsing the capers keeps their bright, briny pop without dragging in raw pickle sharpness — it’s the single step most home cooks skip, and it’s the difference between a sauce that tastes refined and one that tastes aggressive.
Then there’s the lemon, which is the whole reason this sauce sings — and it’s the one acid you must add last, and always off the heat. Lemon juice is mostly water carrying delicate, volatile aromatic compounds, and those aromatics are exactly what we want: that fresh, just-squeezed liveliness. But heat destroys them. Simmer lemon juice, and you boil off the bright top notes, leaving behind only flat, dull, cooked acidity — the sour without the spark. Pull the pan off the burner first, then add the juice, and you lock in that freshness. This is why the sauce can taste bright instead of sour even though it’s loaded with acid: the wine’s edge is gone, the capers are rinsed, and the lemon is preserved rather than cooked.
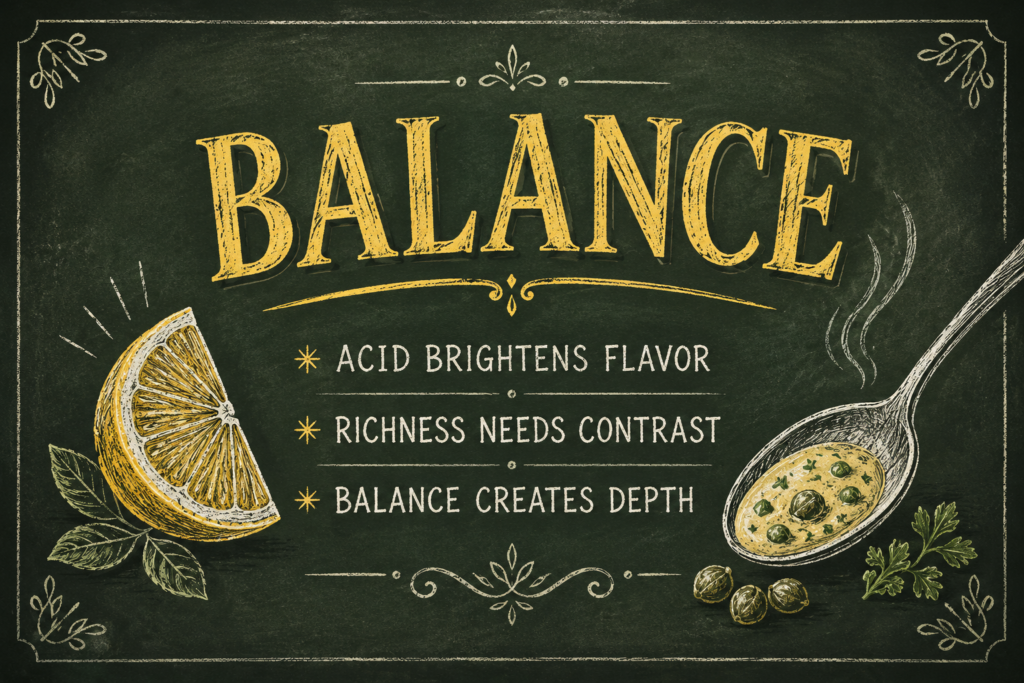
One more piece makes it all hold together: stock and cold butter give the acid something to push against. A splash of stock added before the final reduction buffers the acidity so it reads as balanced rather than aggressive, and finishing with cold butter, swirled in off a gentle heat, builds a smooth, glossy emulsion that rounds everything out. Acid brightens; richness gives it contrast; the balance between them is what creates depth. That’s the entire philosophy of this episode in one sauce.
HOW TO MAKE IT — STEP BY STEP
This sauce comes together fast once the protein is out of the pan, so read through once before you start. I’m making it over golden chicken cutlets here, but it’s just as good over seared fish or a bed of pasta.
Step 1 — Sear the chicken and build the fond
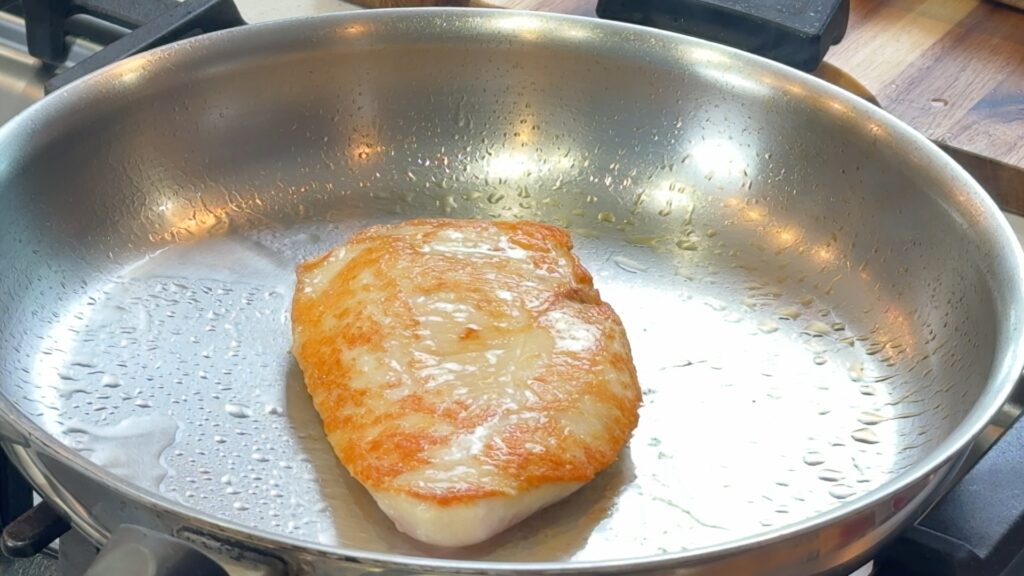
Pat the cutlets completely dry and season both sides. Sear in a hot pan with a little oil until a golden crust forms. Because the cutlets are sliced thin, color matters more than time — you’re watching for that crust, not the clock. Once they’re golden and cooked through, move them to a warm plate and tent loosely with foil. Those browned bits stuck to the pan — the fond — are pure flavor, and they’re the foundation of everything that follows.
This sauce uses the same five-step structure as the whole Pan Sauces series. If you’ve never built one before, start with the foundation:
Step 2 — Soften the aromatics
Turn the heat down to medium and add the shallot to the leftover oil and chicken drippings. Sauté just until translucent — you want sweetness, not color. Add the garlic and stir constantly for about 30 seconds. A little garlic supports the sauce, but don’t let it brown — burnt garlic turns bitter and the lemon should stay the star.
Step 3 — Deglaze and reduce the wine (acid #1)
Pour in the white wine and scrape up all the browned bits with a wooden spoon — that’s the fond dissolving into the sauce. Let the wine reduce by about half. You’ll know it’s ready when the sharp alcohol smell is gone and the bubbles have slowed. This step is doing quiet, important work: the wine’s harsh edge is cooking off right now, so that later it adds depth instead of sourness.
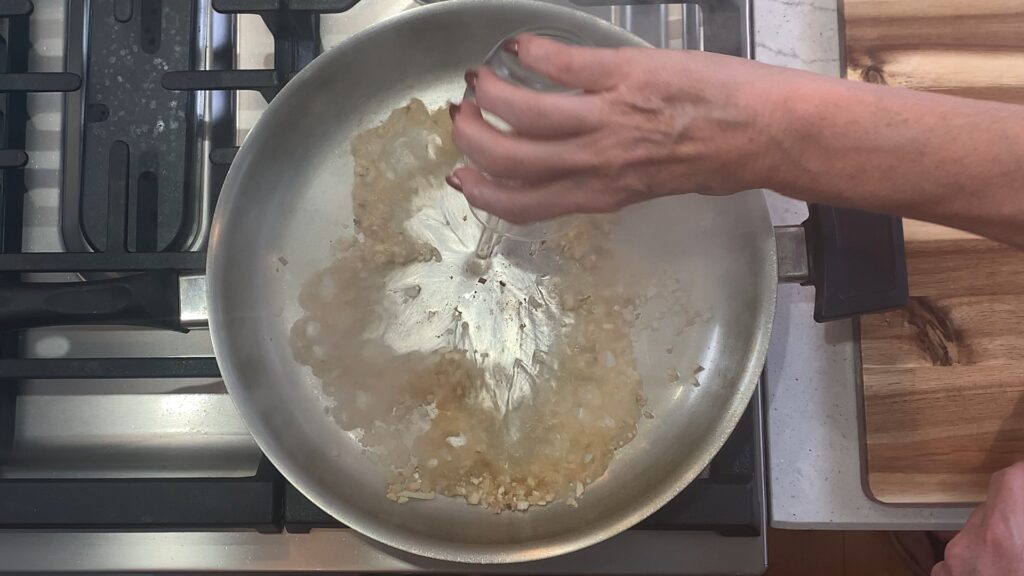
Step 4 — Add the stock and reduce
Pour in the chicken stock and let the sauce reduce by about one-third. The stock buffers the acidity so the finished sauce reads as balanced, and as it reduces, the flavors deepen and the shallots mellow into the background.
Step 5 — Add the capers (acid #2)
Rinse the capers first. They come packed in vinegar brine, and that brine is harsh and overly pickled — rinsing keeps their bright, briny pop without the raw sharpness. This is the step most people skip, and it’s a big reason home versions of this sauce come out aggressive. Stir the rinsed capers in and let them simmer about a minute to soften and mellow.
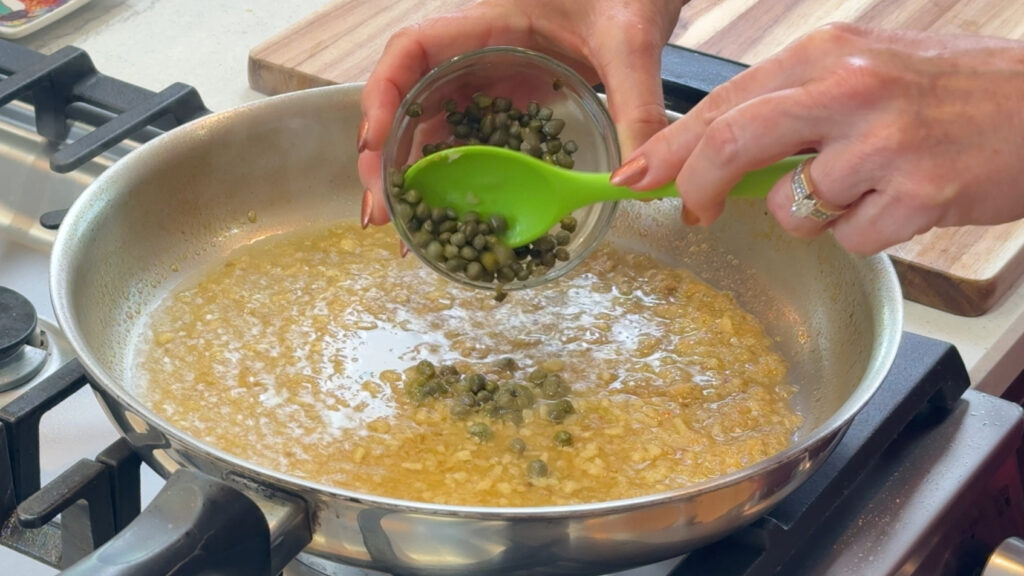
Step 6 — Mount the cold butter
Drop the heat to low — the pan should be warm but not simmering. Add cold butter a couple of cubes at a time, swirling constantly until each addition melts in, until the sauce turns thick, glossy, and velvety. The butter must be cold so it melts gradually and emulsifies into the liquid rather than splitting into an oily layer on top. Never let the sauce return to a boil here — that breaks the emulsion.
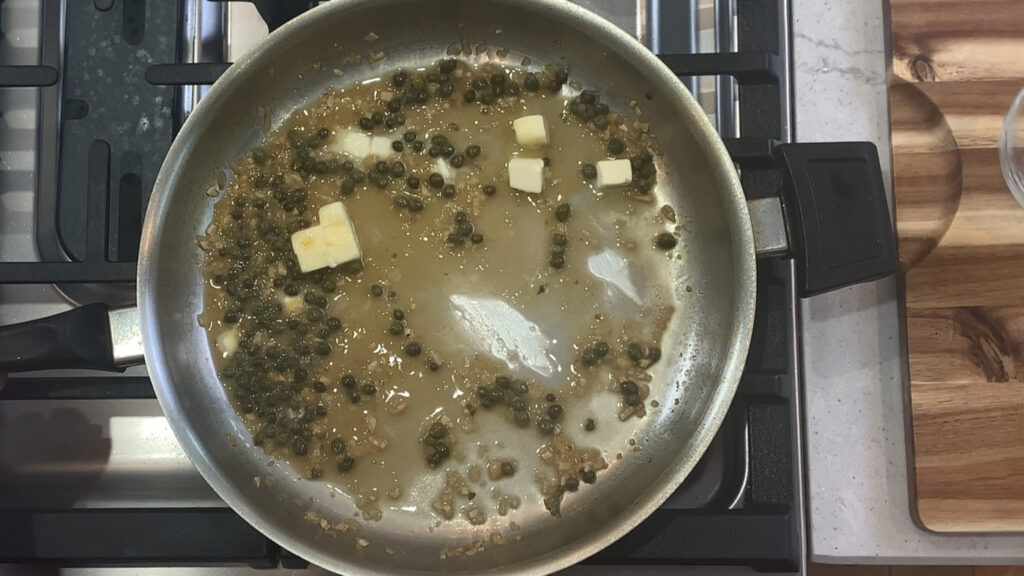
Step 7 — Finish with lemon, off the heat (acid #3)
Take the pan off the burner before the lemon goes in. This is the move the whole sauce is built around. Stir in the lemon juice, then taste and adjust with a pinch of salt or a crack of pepper. Add a little lemon zest for extra zing if you like. Off the heat, the lemon stays fresh and lively — added too early, it would lose all of that and turn the sauce flat and sour. Acid shouldn’t overpower the sauce; it should wake everything up.
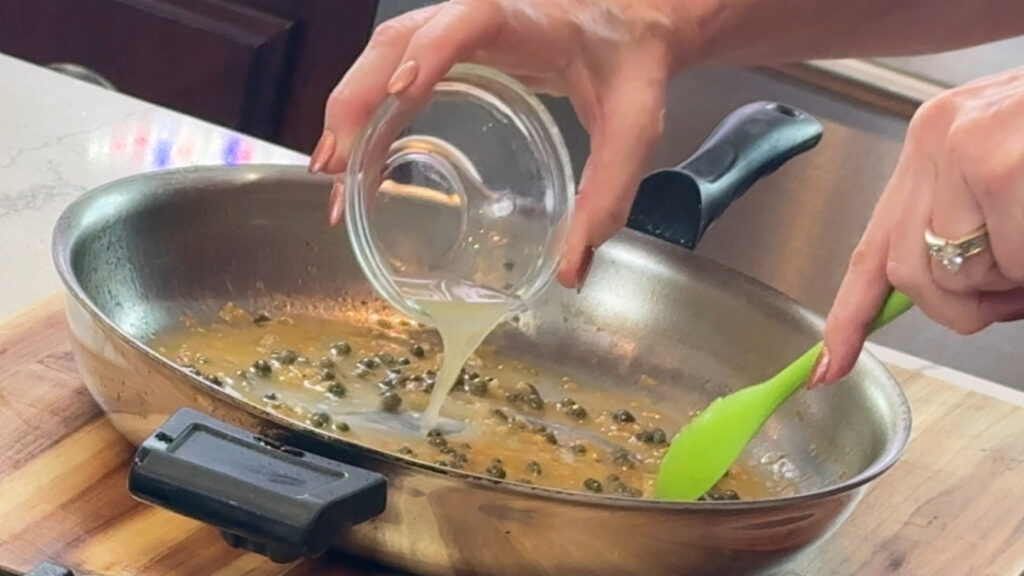
Step 8 — Spoon over and serve
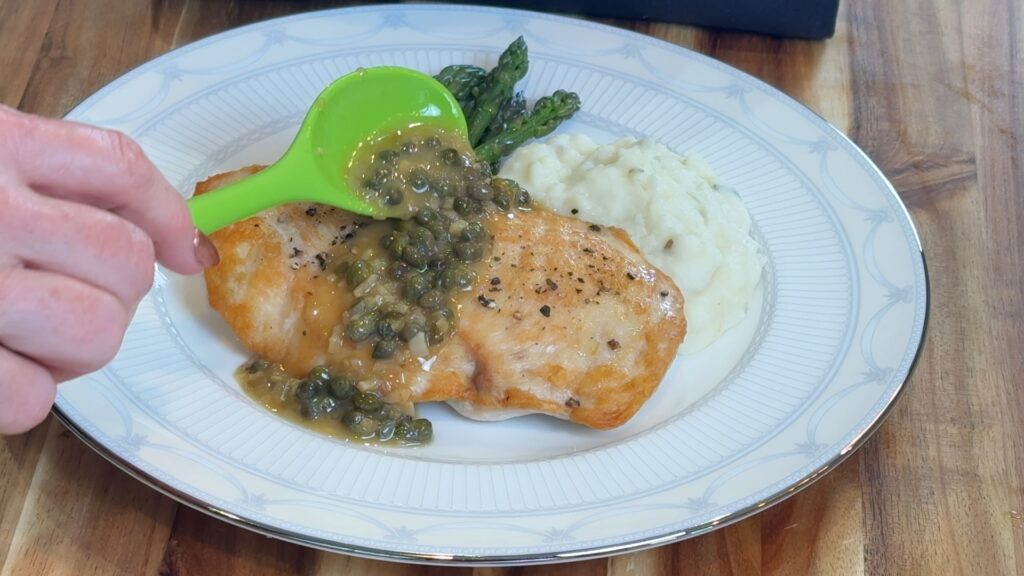
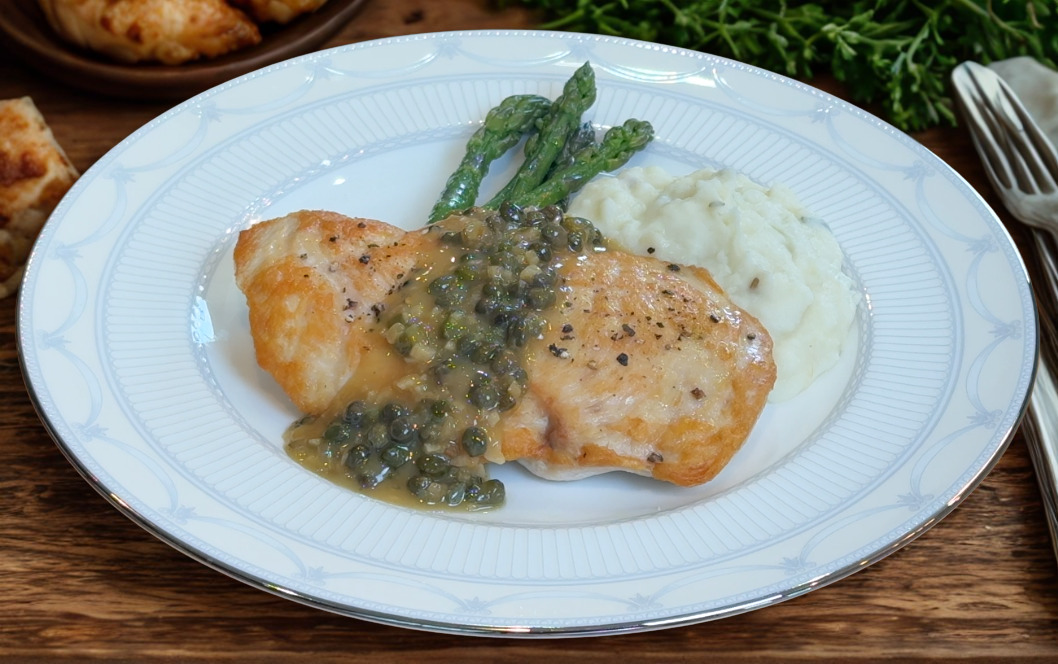
Plate each chicken cutlet — or set the sauce over fish, pasta, rice, or mashed potatoes — and spoon the sauce generously over the top. Bright, balanced, rich without being heavy. That’s what acid does when you control it: it brings the whole dish to life.
Lemon Caper Pan Sauce That Stays Bright (Not Sour)
Ingredients
Method
- 1. Sear the chicken. Season both sides of the completely dry cutlets with salt and pepper. Set a large skillet over medium-high heat and add the oil. Once it's shimmering, add the chicken and cook undisturbed for 3–4 minutes, until a golden crust forms. Because the cutlets are sliced thin, color matters more than time — flip and cook just 2–3 minutes more, until cooked through (165°F). Transfer to a warm plate and tent loosely with foil while you build the sauce.
- 2. Soften the aromatics. Turn the heat down to medium. Add the shallots to the leftover oil and chicken drippings and sauté 1–2 minutes, until translucent. Add the garlic and stir constantly for 30 seconds — soften it, but do not let it brown.
- 3. Deglaze and reduce the wine. Pour in the wine and scrape up all the browned bits with a wooden spoon. Let it boil and reduce by half, about 2–3 minutes. It's ready when the sharp alcohol smell is gone and the bubbles have slowed.
- 4. Add the stock and reduce. Pour in the chicken stock, bring to a simmer, and reduce the volume by about one-third. As it concentrates, the flavor deepens and the shallot mellows.
- 5. Add the capers. Stir in the rinsed capers and simmer 1 final minute to soften and mellow them. (The lemon comes later — see Step 7.)
- 6. Mount the butter (monter au beurre). Drop the heat to low, or pull the pan to a cool burner so it keeps gentle residual warmth — hot but not simmering. Add 2 cubes of cold butter and whisk or swirl constantly until they melt in. Keep adding butter 2 cubes at a time, whisking, until the sauce turns thick, glossy, and velvety. Never let it return to a boil — that breaks the emulsion.
- 7. Brighten off the heat. With the pan off the burner, stir in the lemon juice. Taste and adjust with a pinch of salt or a crack of pepper. Finish with a little lemon zest for extra zing.
- 8. Serve. Plate each chicken cutlet (or set it over pasta, rice, or mashed potatoes) and spoon the extra sauce generously over the top.
Video
Notes
RELATED RECIPES
- New to pan sauces? Start with the five-step foundation: The Pan Sauce Formula
- Want a richer, deeper sauce? Try the Red Wine Shallot Reduction — same fond, very different finish.
FREQUENTLY ASKED QUESTIONS
Do I really have to rinse the capers? Yes — it’s the easiest way to keep this sauce from tasting harsh. Capers are packed in vinegar brine, and if you add them straight from the jar, that raw, pickled sharpness goes right into your sauce. A quick rinse under cool water keeps the bright, briny flavor you want and leaves the aggressive edge behind. It takes ten seconds and it’s the difference between a refined sauce and a sour one.
Why does my lemon pan sauce taste sour instead of bright? Almost always one of two things: too much lemon, or lemon added while the pan was still hot. Heat boils off the fresh, volatile aromatics in lemon juice and leaves behind only flat, cooked acidity — the sourness without the spark. Always add the lemon last and off the heat, and add it in stages, tasting as you go. Acid should wake the sauce up, never take it over.
Can I make this lemon caper pan sauce over fish instead of chicken? Absolutely — this sauce is fantastic over fish, and the method doesn’t change at all. Sear your fish, build the fond, and follow the same steps. It also works beautifully over a bed of pasta if you want a lighter meal.
What wine should I use? A dry white you’d be happy to drink — Pinot Grigio or Sauvignon Blanc are both excellent. Avoid anything labeled “cooking wine,” which is often salted and harsh. Don’t worry about the alcohol: it cooks off completely during the reduction, leaving only concentrated flavor behind.
My sauce turned greasy and split. What happened? The emulsion broke — usually from too much heat or adding the butter too fast. To rescue it, pull the pan off the burner, add a tablespoon of cold stock or water, and whisk vigorously; the cold liquid and motion can often pull it back together. Next time, keep the heat low and add the butter only two cubes at a time, letting each batch fully melt in before adding the next.
THE PAN SAUCE SERIES
- Episode 1 — The Cream Sauce Formula
- Episode 2 — Garlic Parmesan Cream Sauce
- Episode 3 — Mushroom Cream Sauce
- Episode 4 — The Pan Sauce Formula
- Episode 5 — Red Wine Shallot Reduction
- Episode 6 — Lemon Caper Pan Sauce (you’re here)